


I found the idea for this wreath at: http://www.faithabigaildesigns.com/2011/07/momenta-design-team-tutorial-paper.html and knew that I had to try to make one.
I made my rosettes similar to the directions on the above sight but ended up changing a few things to make it easier and faster to prepare.
I started with 5 full 12x12 sheets of patterned paper, I used the DCWV Halloween and Fall Stack from last year for all of my papers.
I then scored each of the 12x12 sheet (while still whole) at every 1/4 inch. After each page was scored I cut the paper into strips:
3- 1.5" x 12"
3- 1.25" x 10"
3- 1" x 8"
By scoring the paper before I cut it into strips it make the process a LOT faster to complete.
Finally I used a 1.5" circle punch on white cardstock to make a backing for each rosette of ALL sizes. Using hot glue I created my rosettes and added a glass bead to the center of each.
TIP: using a low temp glue gun works just fine, if not a little better than a high temperature glue gun for assembling your rosettes. Plus you are less likely to burn your fingers.
The glass bead needs to be added using the High temp though or else it will not adhere.


Using straight pins I started to arrange my rosettes around a Styrofoam ring that I purchased at JoAnn's. I ended up removing them and adding a ribbon over the Styrofoam to mask the green color and it turned out MUCH better.


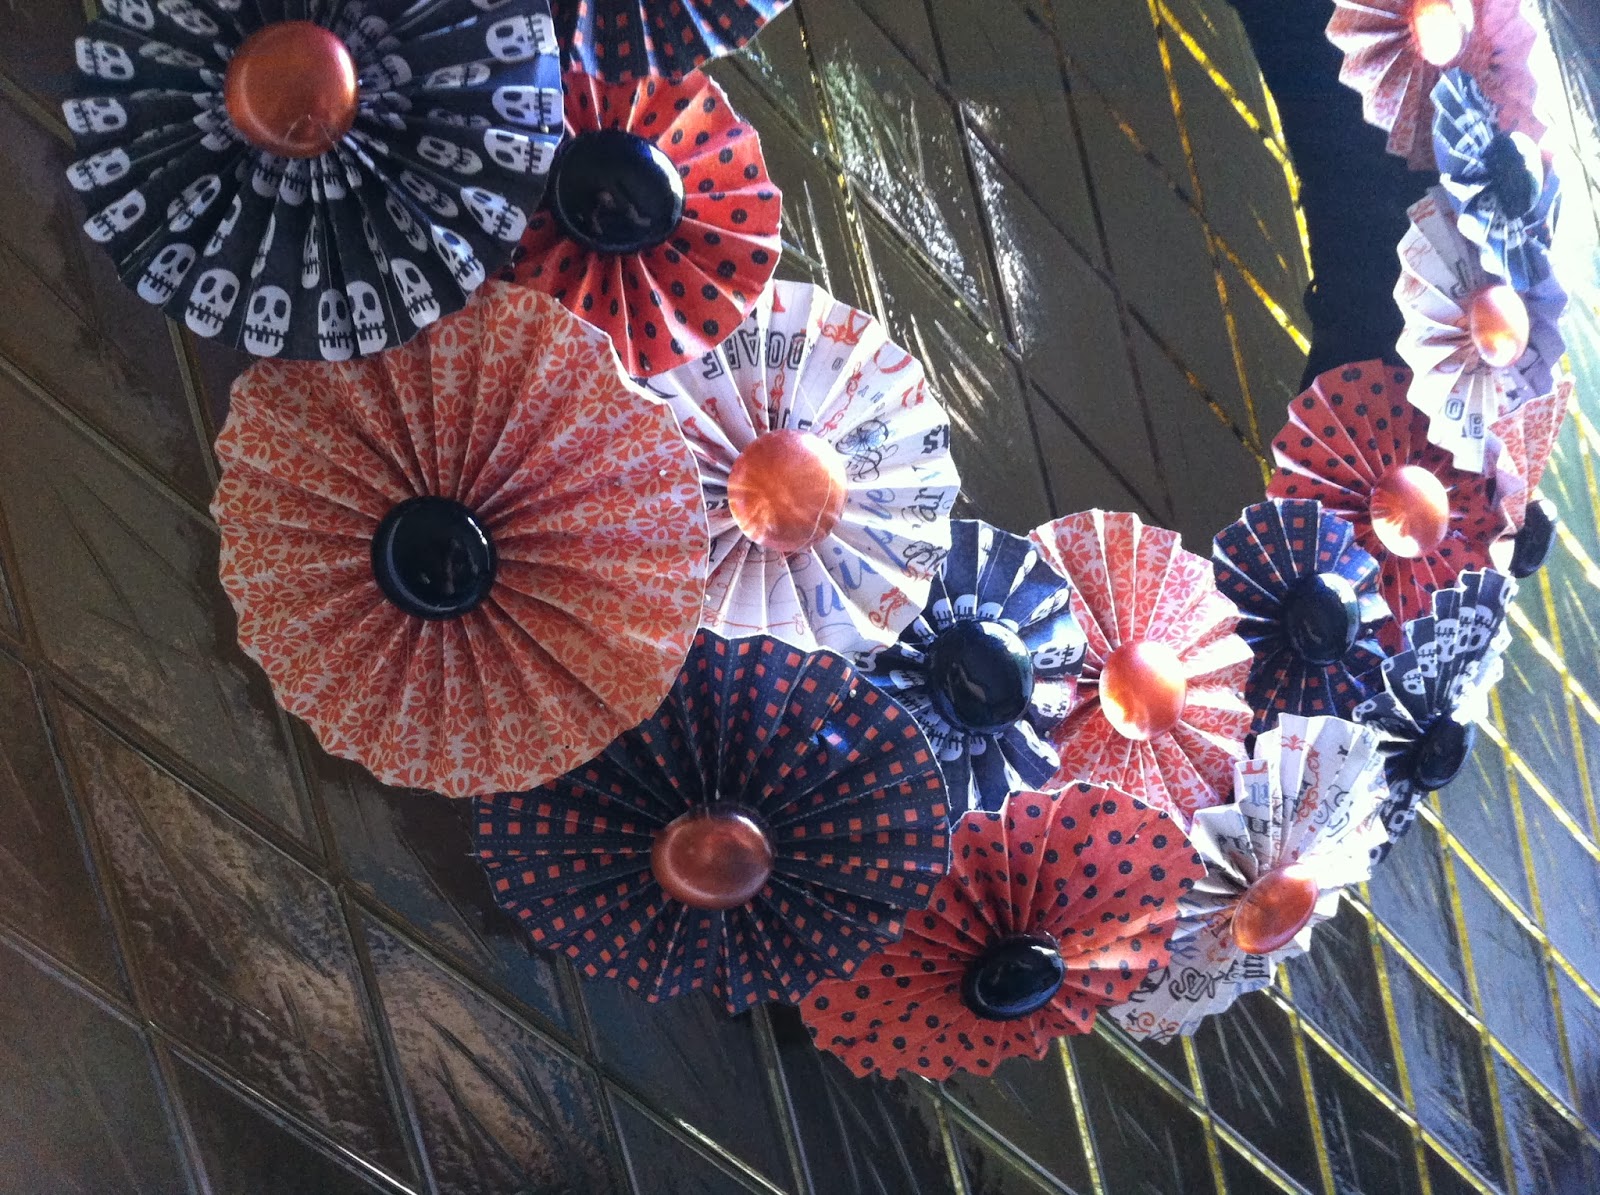
I LOVE the way that this wreath turned out and I will definitely make more of them for different seasons throughout the year.
During the process of making this wreath I found out just how HOT hot glue is when the piece of paper that I was gluing flipped over and landed on my finger.

