Showing posts with label Stamping. Show all posts

Friday, May 12, 2017

Mother's Day Floral Framed Card

Hey guys, Mother's Day is just around the corner so I thought that I would share the card that I plan to give to my own AMAZING mother so hopefully she doesn't check out my blog in the next few days, because if she does she is going to see her Mother's Day card early.
While on YouTube this past week I came across several people talking about how to get the most out of your stamps by stamping them onto a patterned paper instead of just a solid color. I love this idea and it can add so much color and interest to any project. So, I grabbed several sheets of patterned paper and started stamping. I love how it all turned out, with the solid black line from the stamp over the color design pattern, each flower looked completely different even when stamped on the same patterned paper.


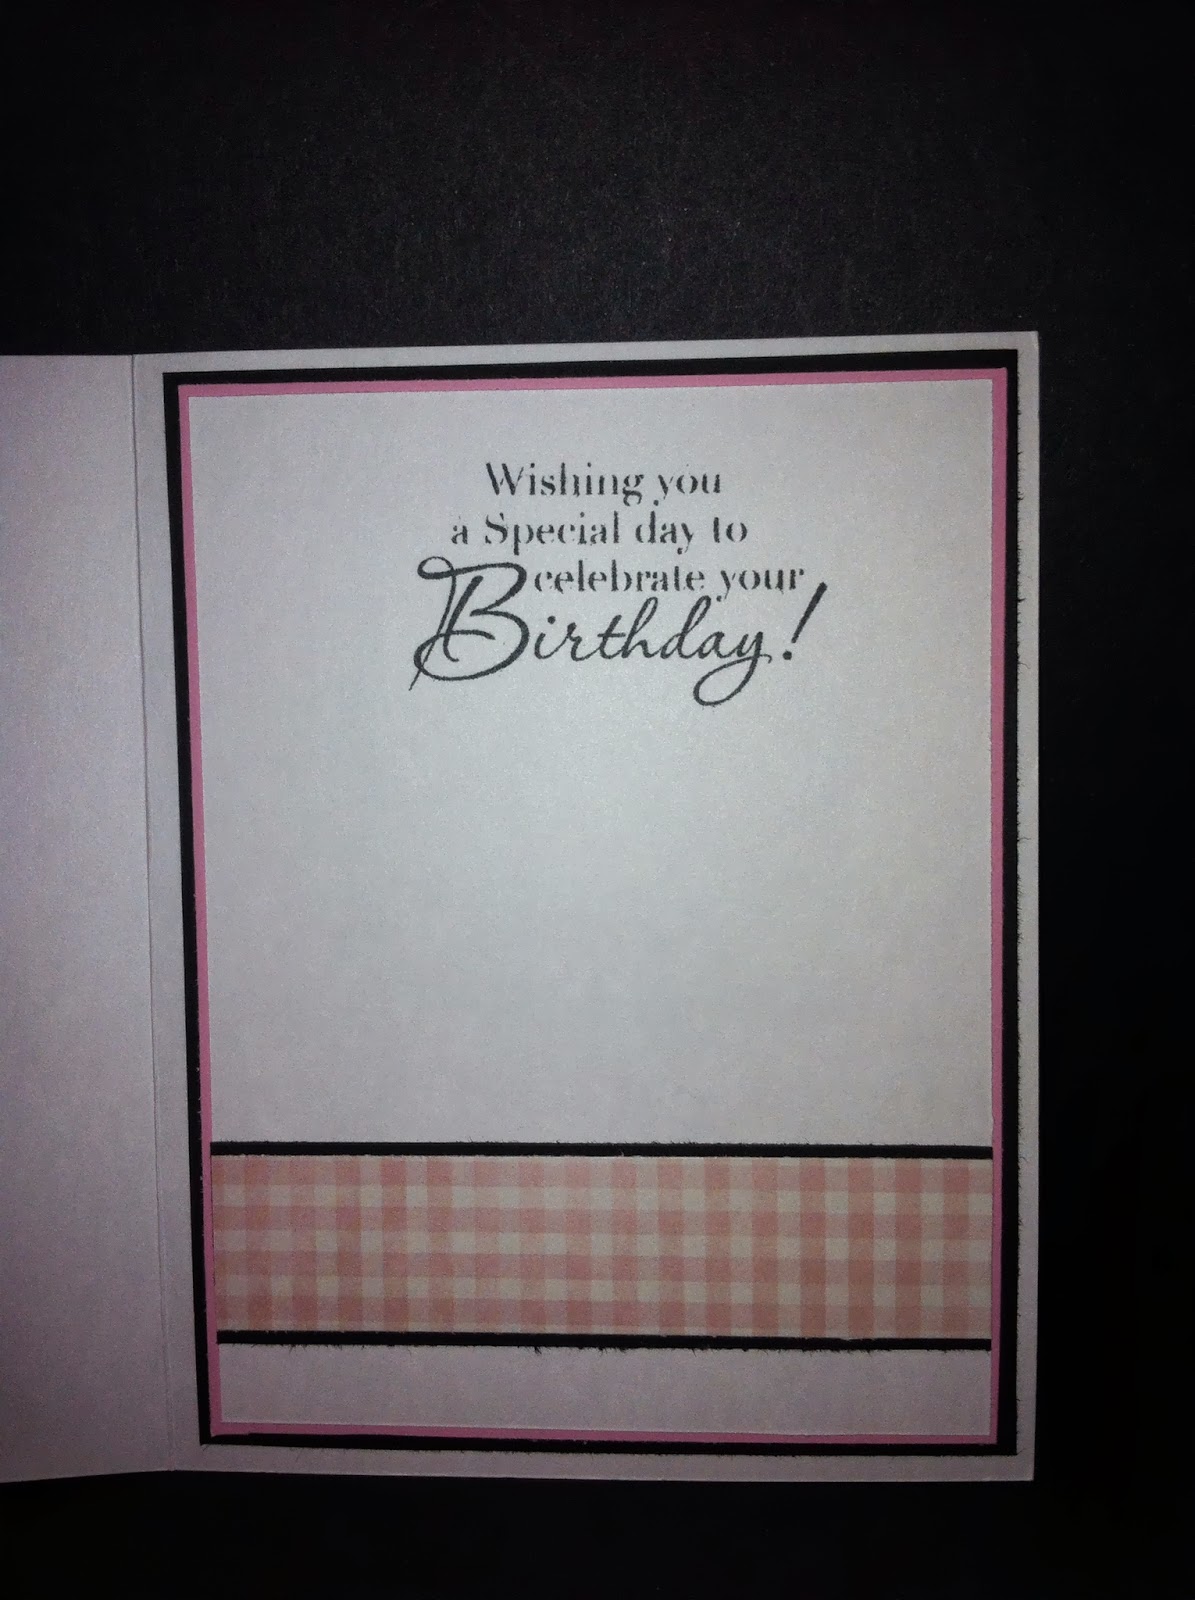
Just like I did with last week’s card, I choose to add the same stamped designs onto the inside of the card. Only, this time I decided to color in each flower to give it a bolder, more vibrant look. I love how this card turned out and I hope that my mom will too. 

Tuesday, May 9, 2017

Mother's Day Stamped Layer Card

I made this beautiful card with a new stamp set that I got. One of the newest trends in stamping and card making is layering stamps; stamp sets that are created with images that when stamped with different colors layer on top of one another to give a more realistic look to an otherwise flat image. So by layering several different shades of pink together these gorgeous flowers appear to be almost 3 dimensional. This card could easily be used for any occasion by simply changing out the sentiments and/or colors to fit the recipient and the occasion.


For the inside I used the same stamps that I used on the front but chose not to layer them, so that it gives a cohesive look without being too heavy and still leaves enough space to write a message.

Saturday, August 23, 2014

My Best Friend's Wedding

Today my best friend got married and I was lucky enough to be able to be her maid of honor. Everything was beautiful and elegant especially the Bride! I am so happy that they have found each other and I wish them all the luck, wishes and happiness in the world. 
 
 
 I ended up making 2 different cards for her, one for the actual wedding gift and one for the bridal shower. The idea for both cards I found on Pintrest. And, both cards are super easy and can be whipped together in just minutes.

The hearts for this card were cut from the George and Basic Shapes Cartridge and the bow for the groom was cut from the Doodlecharms Cartridge. Pearls down the "back" of the dress help to establish that the white heart is the bride and a few black rhinestones really bring out the look of the tux.


This card was made from a phrase that came from the DCWV Everlasting Love Paper Stack, and it was placed on a background that I ran through my cuttlebug. With this card you can use just about any embossing folder and it would turn out elegant and gorgeous.

 
 CONGRATULATIONS HEATHER AND RYAN!!


Monday, June 30, 2014

First spinner card

I spend a LOT of my free time on youtube watching card making and scrapbooking videos for both ideas and inspiration. That is where I first ran across the idea of the spinner card and I thought that they looked like a lot of fun so I just had to try it.
I decided for my first attempt I would recreate one that I had seen from someone else. So I went to youtube and found a cute card that I wanted to make. Since I made this card a while ago, I have forgotten where I found the initial video, so if any of you know who came up with this card originally please let me know so that I can give them full credit for it.


I left the inside of the card blank for now because I don't know who this card is going to go to. The background was made using stamps from Studio G and the fun zebra in the car was cut from the Cricut Paisley cartridges.


Wednesday, June 25, 2014

Mother's Day 2013 Cards

I was going through my card box to take stock of my inventory and I discovered quite a few that I had yet to post pictures of. I know I promised pictures of my Christmas albums but I still need to pull the photos off of my phone, so in the mean time I will upload the cards that I have come across.
 
These first 3 where Mother's Day cards. The first two I gave away (one to my mom and the other to my aunt) and the third is still in my "inventory"


Tuesday, June 24, 2014

Another Encouraging Card

I mentioned (I think) in a previous post that I recently came across photos of cards and layouts that I had never posted, so for the next several weeks I will be trying to get all of them uploaded.
 
The card I am going to share with you today is a very simply card that fast and easy to make. All it takes is a little stamping and your done.


Friday, June 20, 2014

Encouragement

Every now and then we all need some comforting words to lift are spirits back up, so I like to have a supply of encouraging cards on hand to send to family or friends who might need to know that someone is thinking of them.


This quote is one of my absolute FAVORITES that when I saw the stamp a few years ago at Hobby Lobby I just had to get it.

Monday, June 16, 2014

Frozen Birthday Under the Sea

HAPPY BIRTHDAY STELLA AND KYRIA!!!


This first card was made for Miss Stella's 3rd birthday party. Her parents decided on a Frozen themed party because Stella LOVES the movie, so they had a Frozen cake, Frozen plates, Frozen napkins and even some Frozen balloons and temporary tattoos. I found the idea for this card on Pintrest and set about trying to replicate it.
 
The card base measures 5" x 7"
Patterned paper mat- 4.75" x 6.75"
The castle was cut from the Once upon a Princess Cartridge page 60 at 8" and I stamped it with a Hero Arts snowflake stamp in Versamark ink and heat embossed it with a silvery embossing powder.
Elsa and Anna dolls were cut from the Create a Friend Cartridge
Anna: cut at 2.75"
Body- Pg. 59
Hair- Pg. 75
Dress- Pg. 59
Elsa: cut at 2.75"
Body-Pg. 99
Hair- Pg. 63
Dress- Pg. 99
The silver snow was made by gluing silver glitter onto white cardstock and the snowflakes were left over from punching the mat for the inside of the card.
 
Olaf was printed on a piece of white cardstock and then it was cut to measure 5" x 6.75" and then punched using Martha Stewart snowflake punch around the page.


This second card was for Miss Kyria's 2nd birthday party and the theme was Under the Sea.
 
Card Base- 4.25" x 5.5"
Patterned Paper- 4" x 5.25"
Bottom Border- approx. 1" punched with Martha Stewart Embossed Petals Punch
Fish cut from Create a Critter pg. 43 at 2"
Bubbles cut from Disney Princess Dreams come True at 5"
 
The wave was in my scraps so I'm not sure where it came from exactly. Any wave would work.
Stamped with a fish Stamp for added dimension.

Wednesday, May 14, 2014

Happy Birthday to my Bestie

Today is my BEST FRIEND Heather's Birthday and I am so excited because she is coming back to town and I will get to see her for the first time in over 6 months. We have been friends now for over 20 years and I love her so much and miss her now that she has move to another state, it is hard when you go from seeing someone everyday to not seeing them for over 6 months.
Let the party begin!!


Both the monkey with the bat and the piñata were cut from the Cricut Birthday Bash Cartridge and the candy on the inside was cut from the Cricut Something to Celebrate Cartridge and embellished with stickles and rhinestones. The quote on the front is from the Make a Wish stamp set by Fiskars.